Spin Up a Jekyll Website with Github Pages and AWS Amazon Cloud9
3 minutes to read
 /
/
Prerequisites
Jekyll is a Ruby based static site generator. Its brick components are Ruby components called gems.
Bundle is an environment for hosting and managing gems. Jekyll itself is a gem and therefore can be run by bundle.
gem install jekyll
gem install bundler
Note: if issue with permissions: alias sudo='sudo env PATH=$PATH'
On Github Pages
Github Pages is a popular hosting service provided by Github.
There are three types of GitHub Pages sites: project, user, and organization.
This tutorial will focus on project based website.
Create a new repository: in my case is oe-service-catalog.
Add README.md as asked
Save
Then go to the settings and select Source: master branch. On your local machine
Create the website in jekyll is very fast and simple
jekyll new oe-service-catalog
cd oe-service-catalog
outputs:
Configuration file: /var/www/repos/oe-service-catalog/_config.yml
            Source: /var/www/repos/oe-service-catalog
       Destination: /var/www/repos/oe-service-catalog/_site
 Incremental build: disabled. Enable with --incremental
      Generating...
                    done in 0.952 seconds.
 Auto-regeneration: disabled when running server detached.
Configuration file: /var/www/repos/oe-service-catalog/_config.yml
    Server address: http://127.0.0.1:4000/
Server detached with pid '13252'. Run `pkill -f jekyll' or `kill -9 13252' to stop the server.
Now serve it (on port 4000 by default)
jekyll serve --detach
Now if you visit http://localhost:4000 you should see your site ready.
In Amazon AWS Cloud9 you need to pas port 8080 to launch it: jekyll serve --detach --port 8080
Now go to https://025dbc2f7f4a4dbbaf4caa9fcbe9cc4d.vfs.cloud9.eu-west-1.amazonaws.com/ where 025.. is your ID and tada!
BaseUrl configuration
Open up _config.yml where
you edit
baseurl: "/oe-service-catalog" # the subpath of your site, e.g. /blog
url: "https://jazio.github.io" # the base hostname & protocol for your site
Now for the local environment you still need to keep your local variables.
In order to do that create a dev configuration: _config_dev.yml
baseurl: "/oe-service-catalog"` # the subpath of your site, e.g. /blog
url: “localhost” # the base hostname & protocol for your site
Now run (disconnect the server if was previously launched pressing Ctrl+C)
jekyll serve --config _config_dev.yml,_config.yml --trace
Create a helpful task runner
Rake is a popular task runner in Ruby.
There is a little improvement to ease the development:
Create a file called rakefile in the project root and paste:
def execute(command)
  system "#{command}"
end

desc 'Jekyll Serve'
task :serve do
  execute("jekyll serve --config _config.yml,_config_dev.yml")
end
In order to run a jekyll development server is this:
rake serve
Now let’s publish the site
git init
git remote add github https://github.com/jazio/oe-service-catalog.git
git remote -v
git pull github master
Create a .gitignore where you put all you don’t neet to push like cache folders
git commit -m "Initial setup"
git push github master
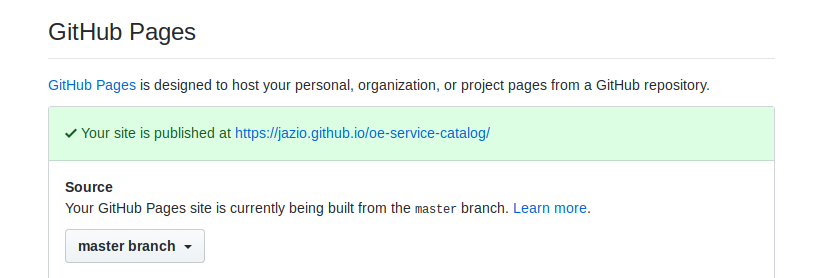
On github
Now you navigate to repository’s settings where your site’s url will show up
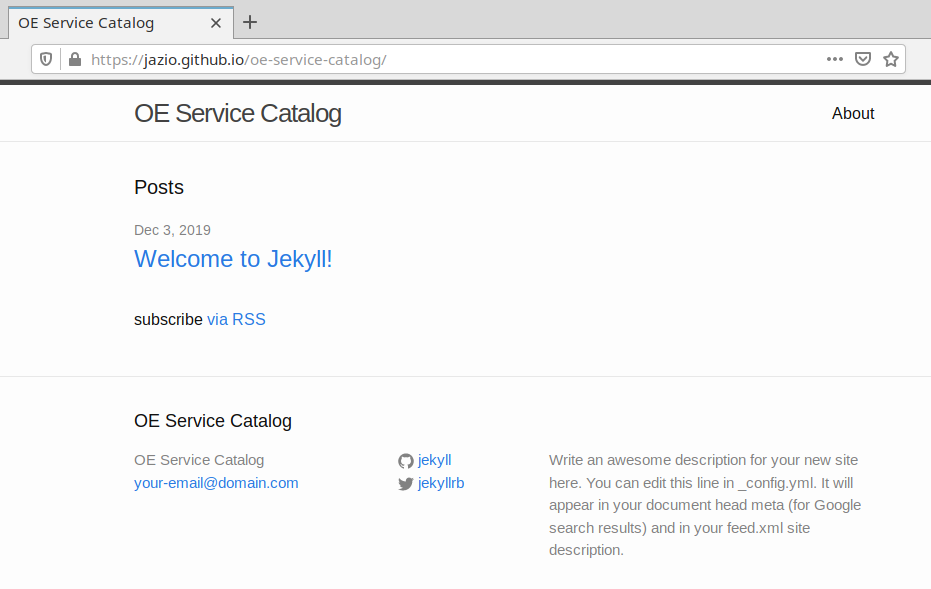
Now you have a local development and a remote running website.